Advertiser
How to set up Direct Ads - Step-by-Step Guide
In this video guide we describe how to set up Direct Ads in Bitmedia publisher’s dashboard.
To access the Advertiser Dashboard and view all campaigns, follow these steps:
Step 1: General Settings
-
Navigate to the Advertiser Dashboard by logging into your advertising platform or account.
-
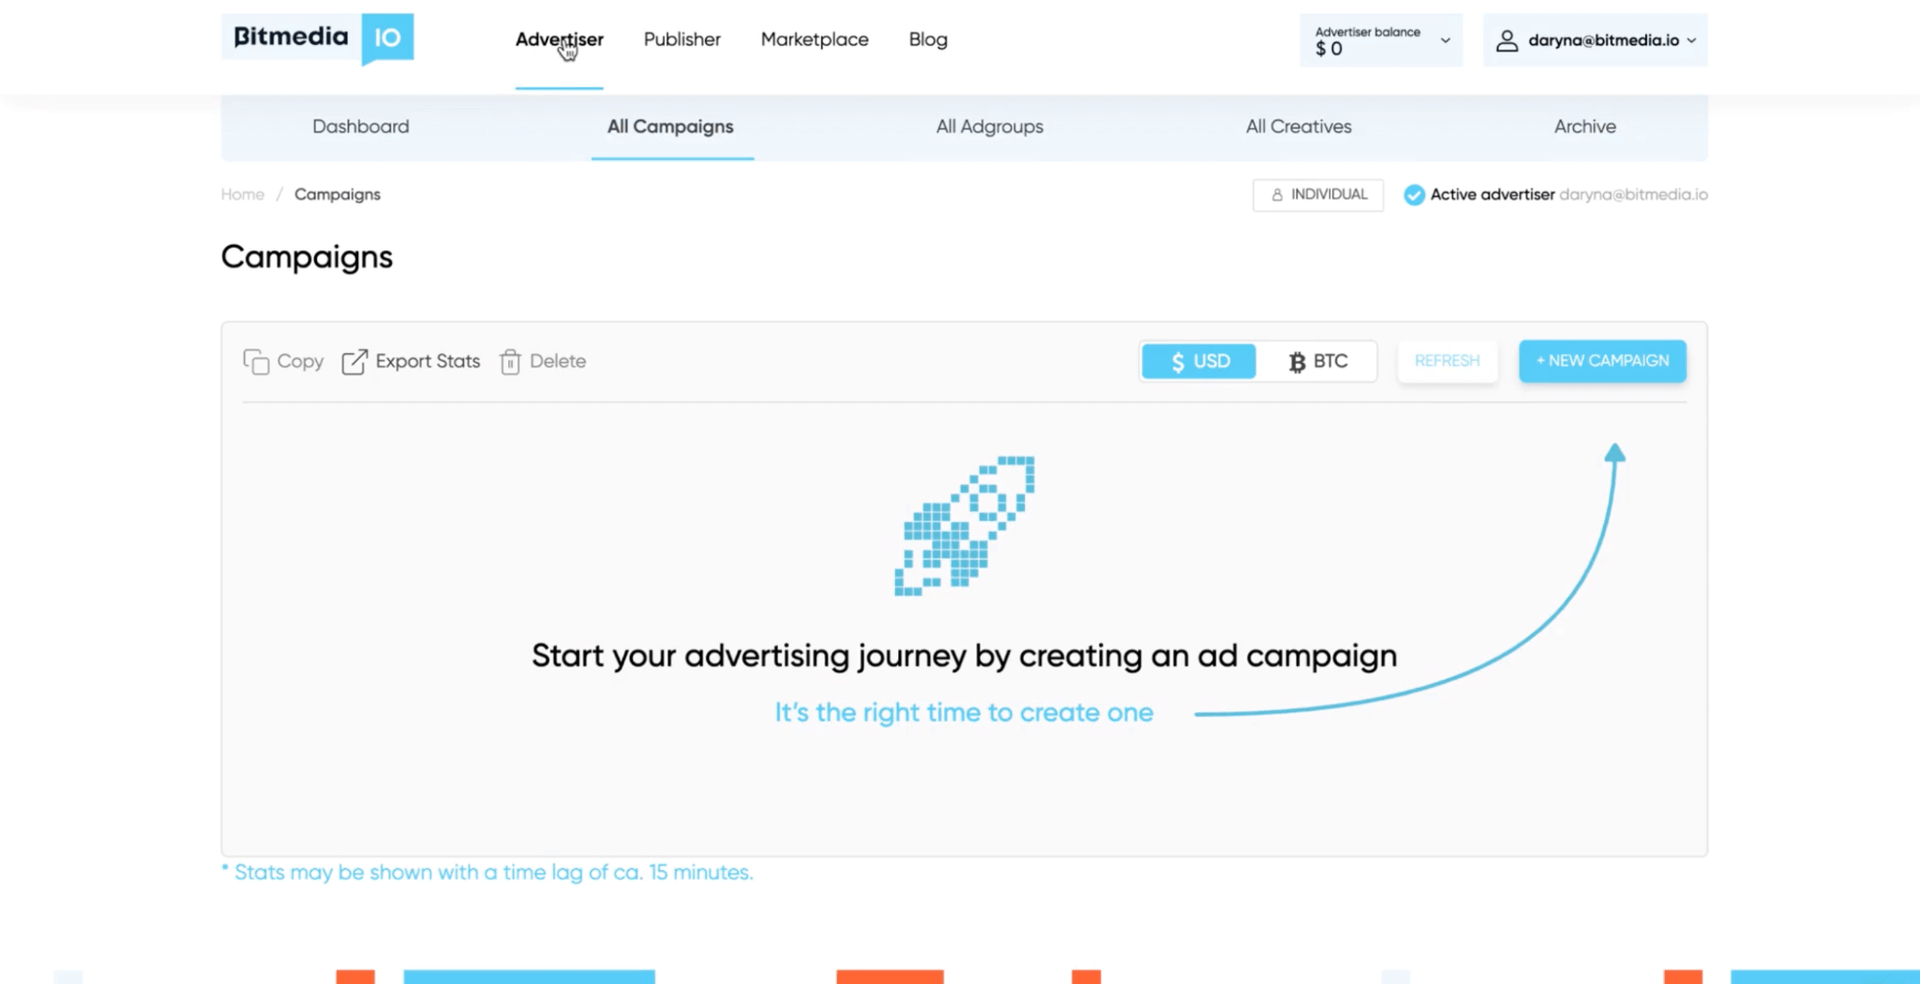
Once you are on the dashboard, select the "All Campaigns" section or tab. This section typically provides an overview of your advertising campaigns.
-
Press the button + New Campaign.
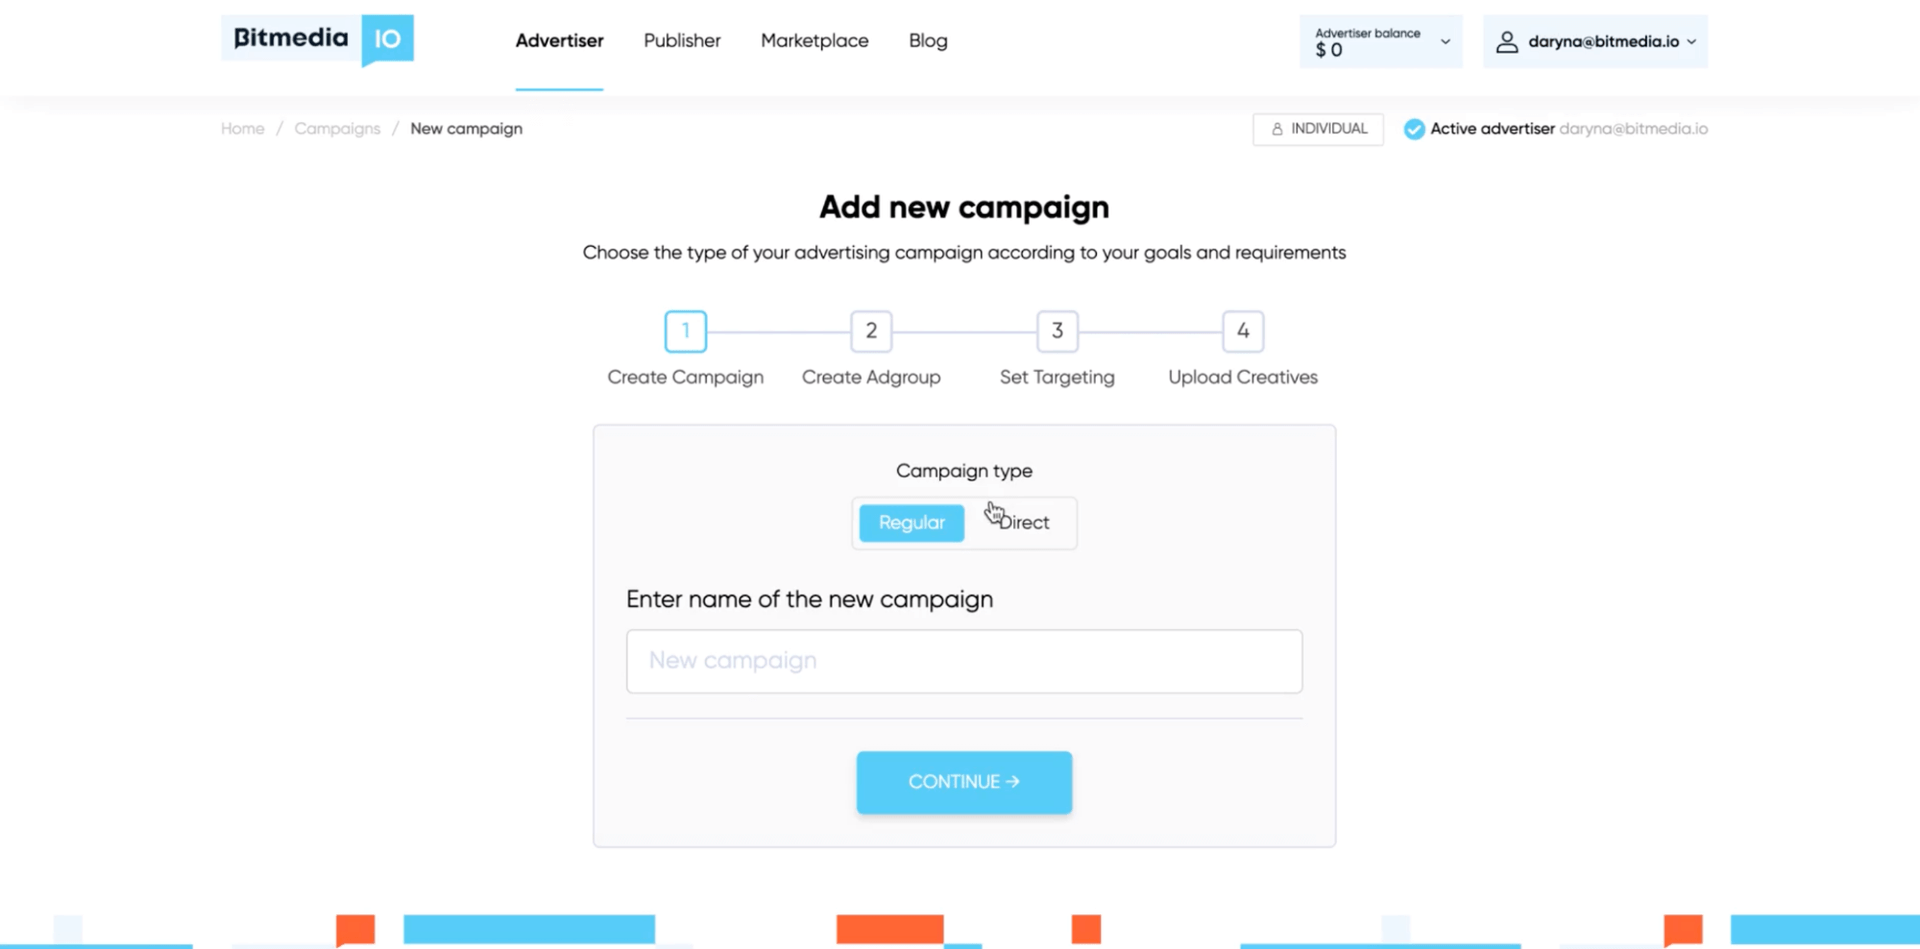
Here you can choose the type of your advertising campaign according to your goals and requirements.
-
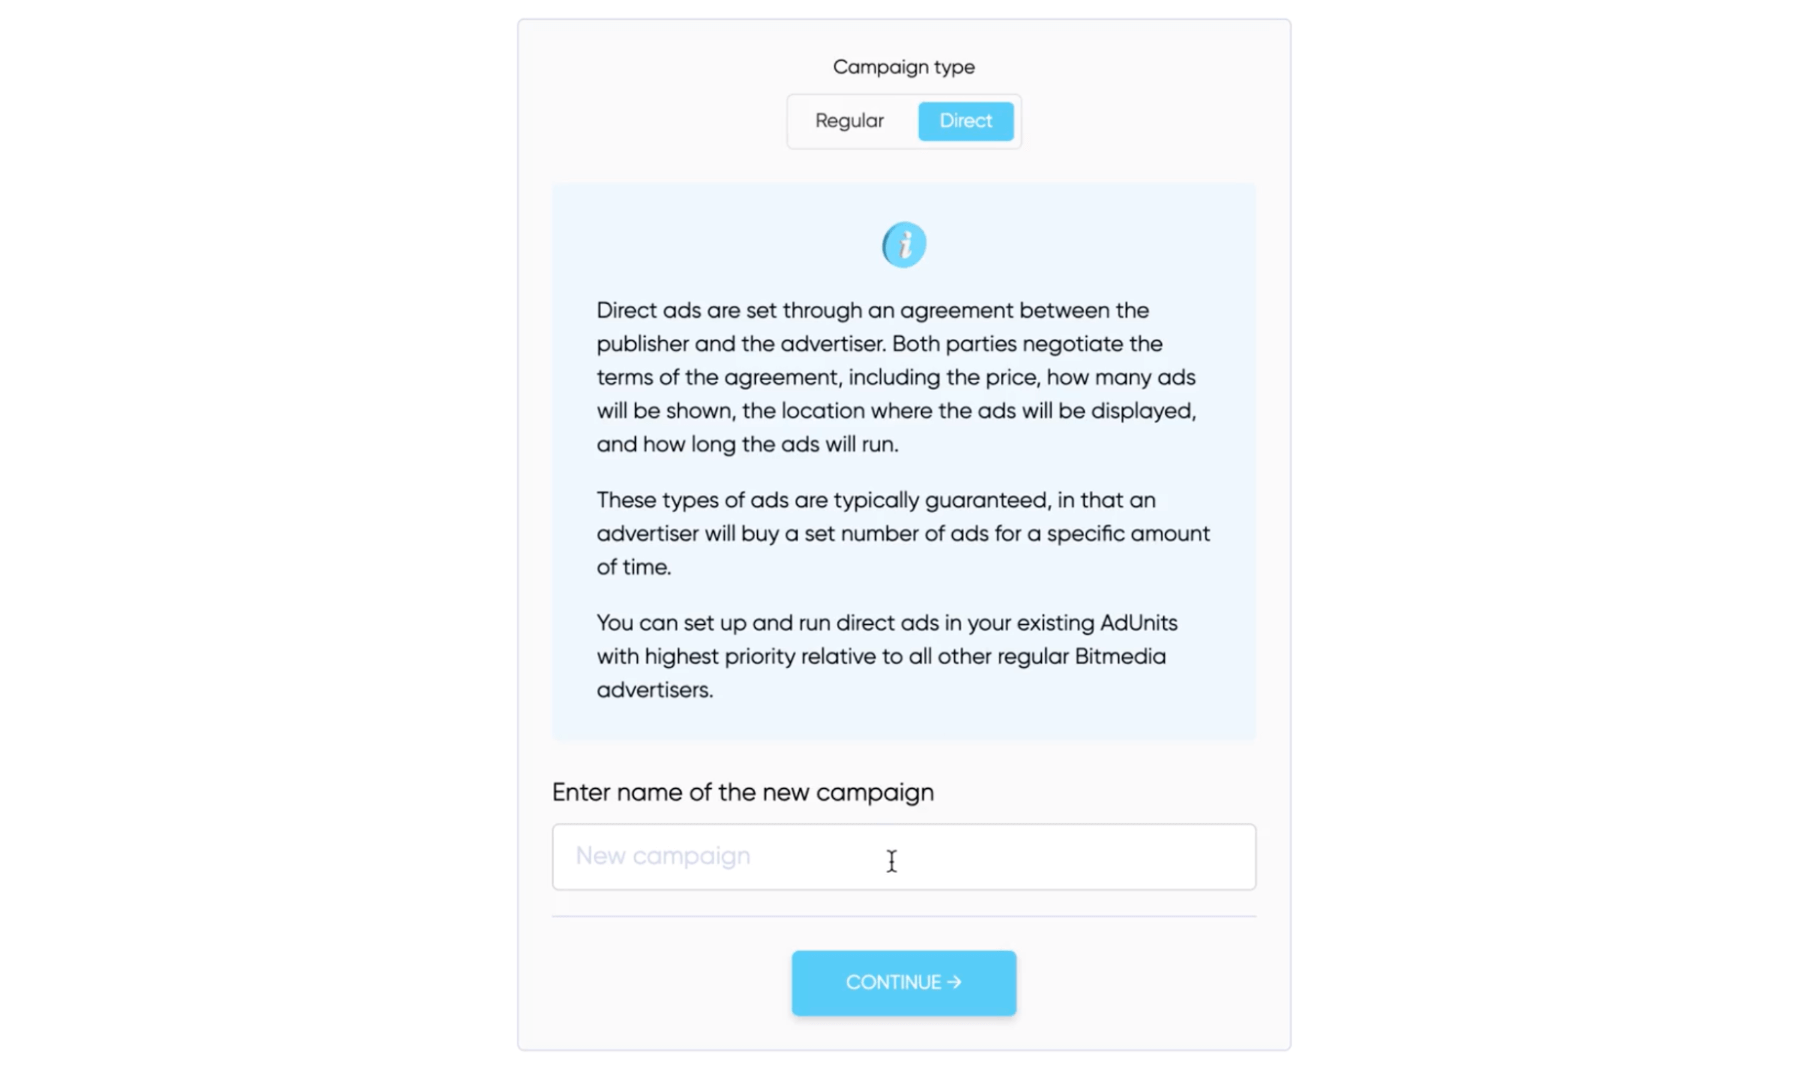
Select campaign type - Direct.
Direct ads are set through an agreement between the publisher and advertiser. Both parties negotiate the terms of the agreement, including the price, how many ads will be shown, the location where the ads will be displayed and how long the ads will run.
These types of ads are typically guaranteed in that an advertiser will buy a set number of ads for a specific amount of time.
You can set up and run direct ads in your existing AdUnits with highest priority related to all other regular Bitmedia advertisers.
-
Below enter the name of the New Campaign. Press “Continue”
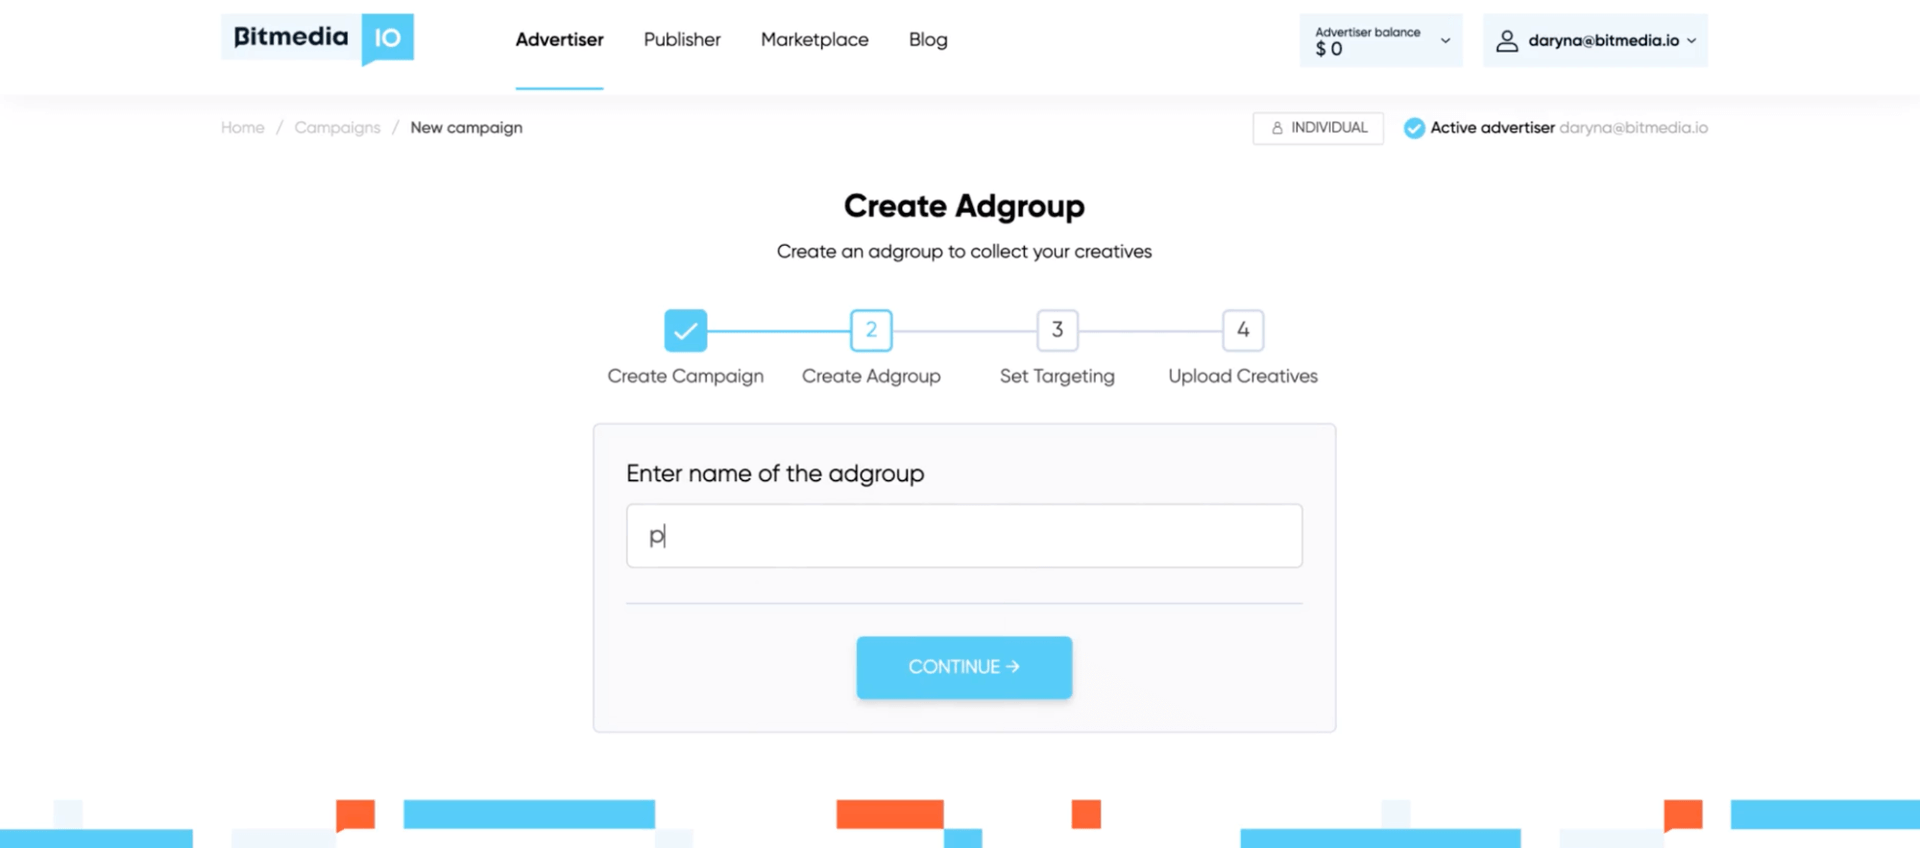
Step 2: Name Adgroup
Enter Name of the Adgroup. Press “Continue”.
Step 3: Targeting
In the third step of setting up your ad campaign, you will encounter the option to choose general targeting settings. This step allows you to define the type of audience you wish to attract throughout the duration of your campaign.
Within the targeting settings, you will typically find a range of options to narrow down and specify your desired audience. These options may include criteria such as location, and language device etc.
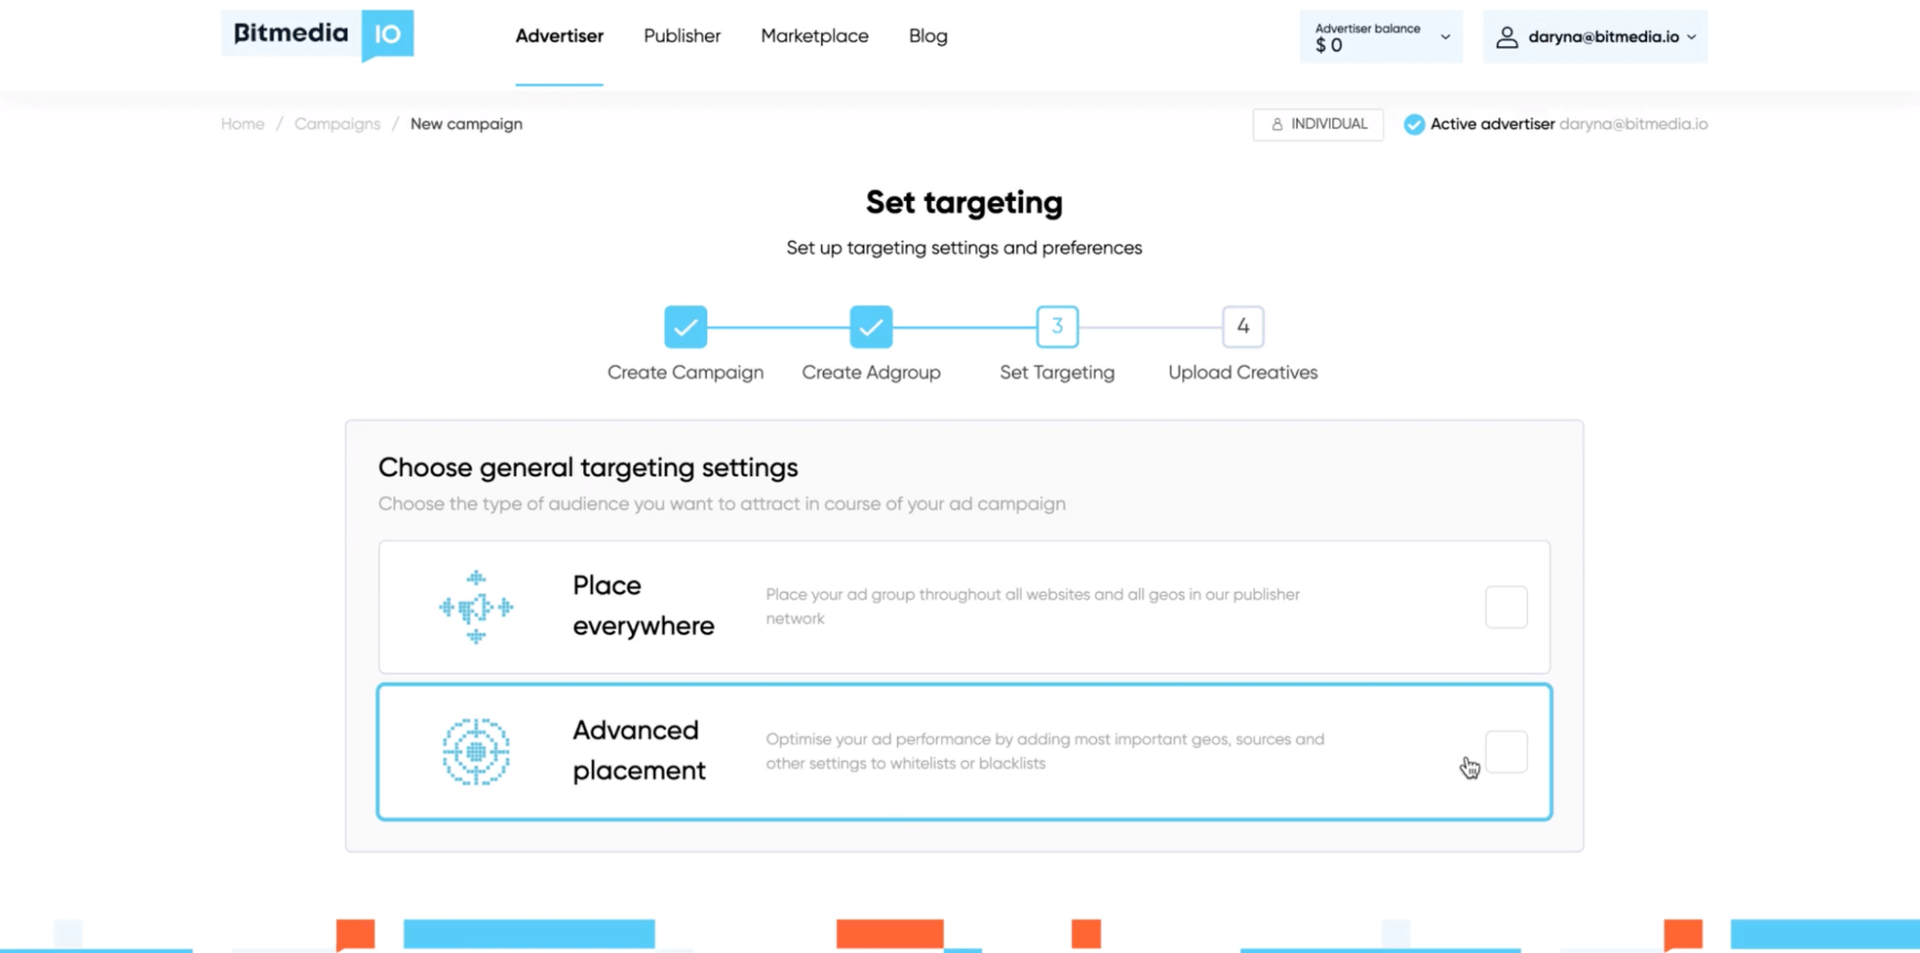
There are two options:
-
Place everywhere (Place your ad group throughout all the website and all geos on all your websites)
-
Advanced placement (Optimise your at performance by adding most important geos)
Select advanced placement
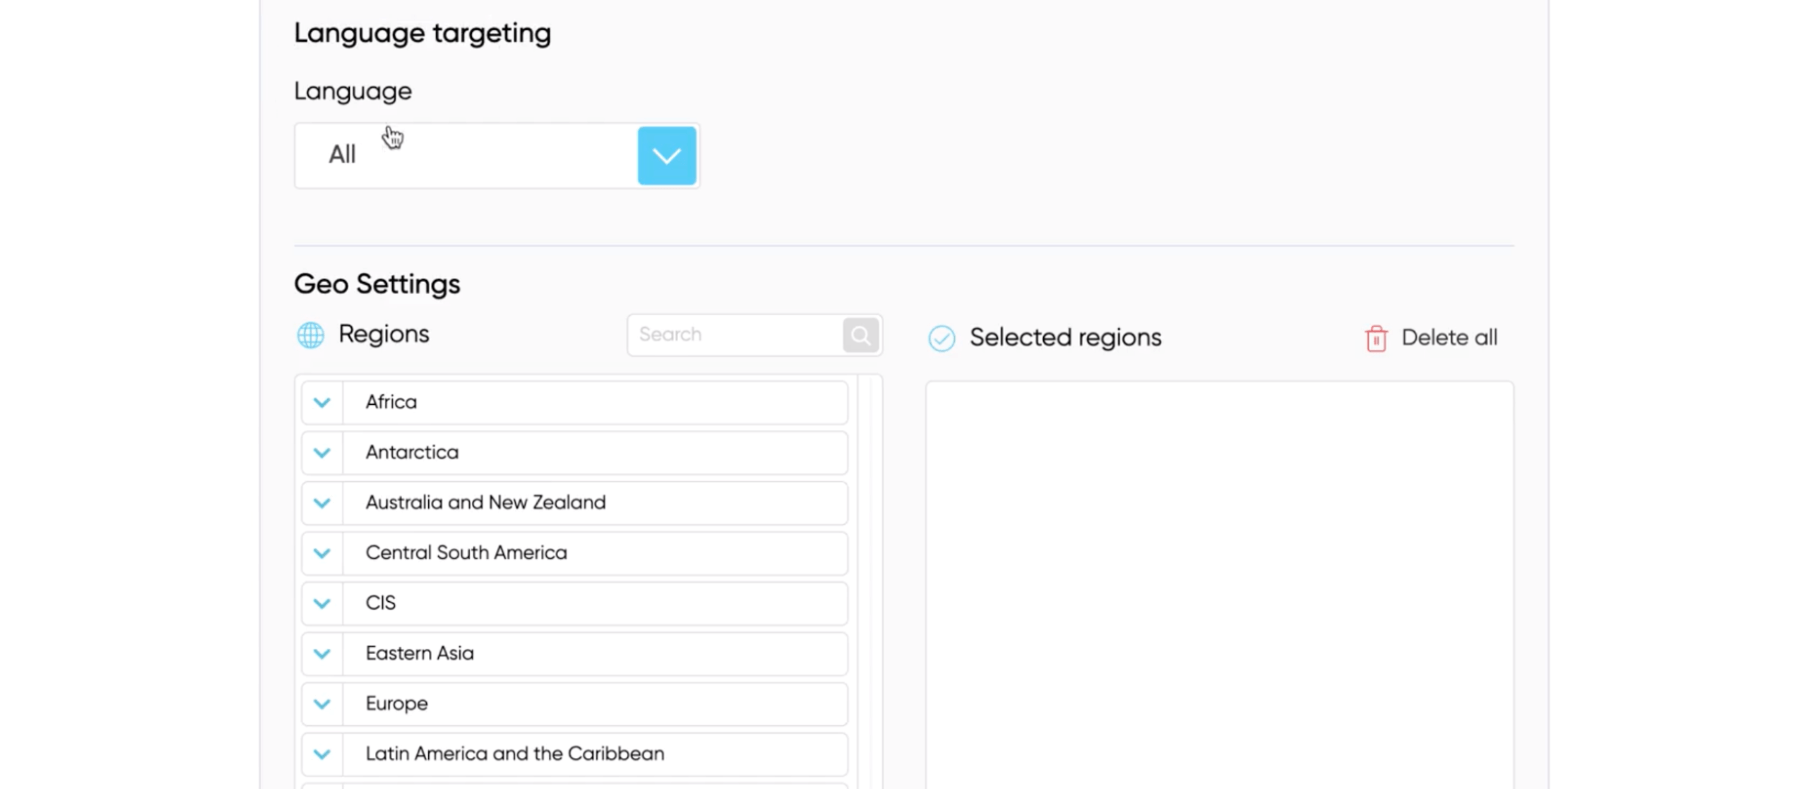
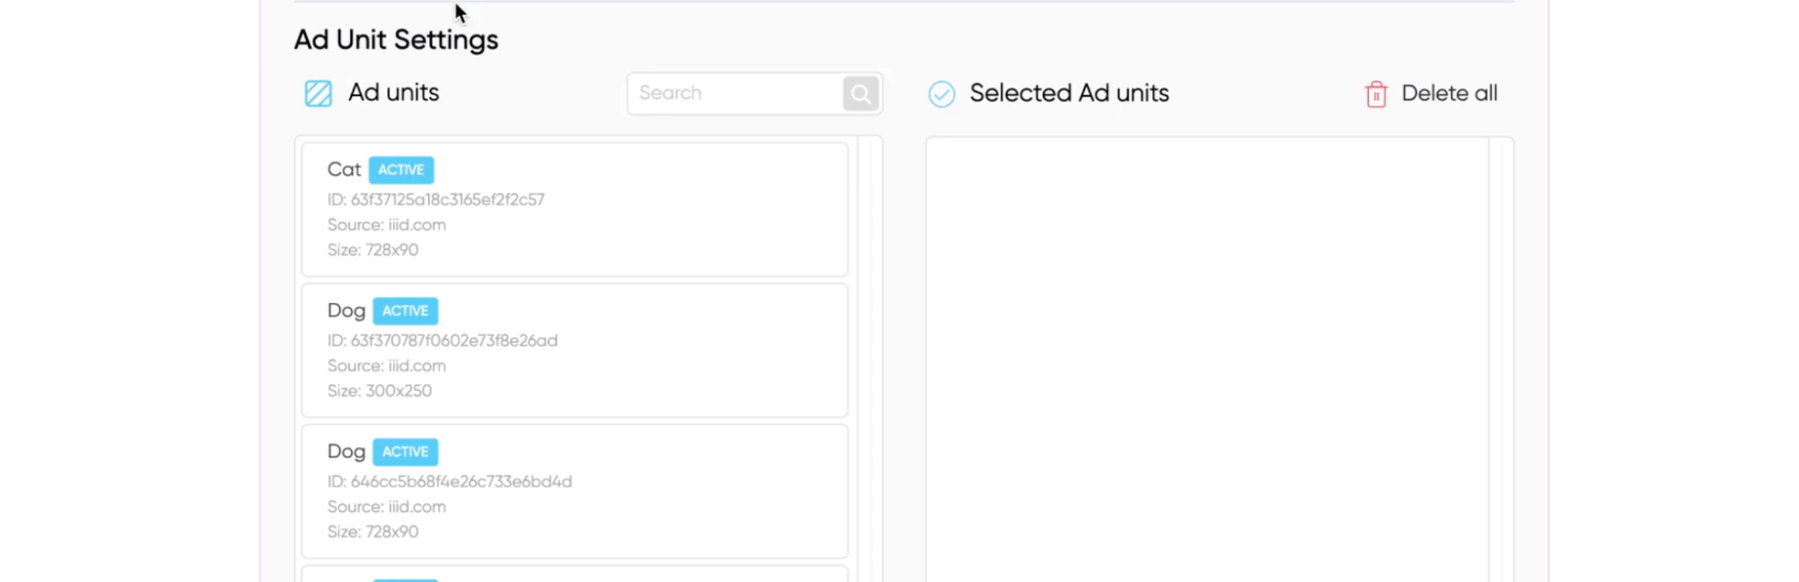
Below you can target by language, Geo Settings, select Ad units, devices (display ads on smartphones and tablets: android, Windows Phone, iOS, others.
Display ads on desktops: Linux, Windows, macOS, others.).
In addition to the general targeting settings, there are two additional options to consider for your ad campaign:
-
Ad Rerun: This feature determines the time interval after an ad click when the group materials will be displayed to the visitor again. You have the flexibility to either turn off this feature or choose from predefined intervals such as 1 day, 3 days, or 1 week. This helps control the frequency at which your ads are shown to users who have previously engaged with them.
-
Display Time: This option allows you to select your desired time zone for displaying your ads. By choosing the appropriate time zone, you can ensure that your ads are displayed at optimal times for your target audience, maximizing their visibility and impact.
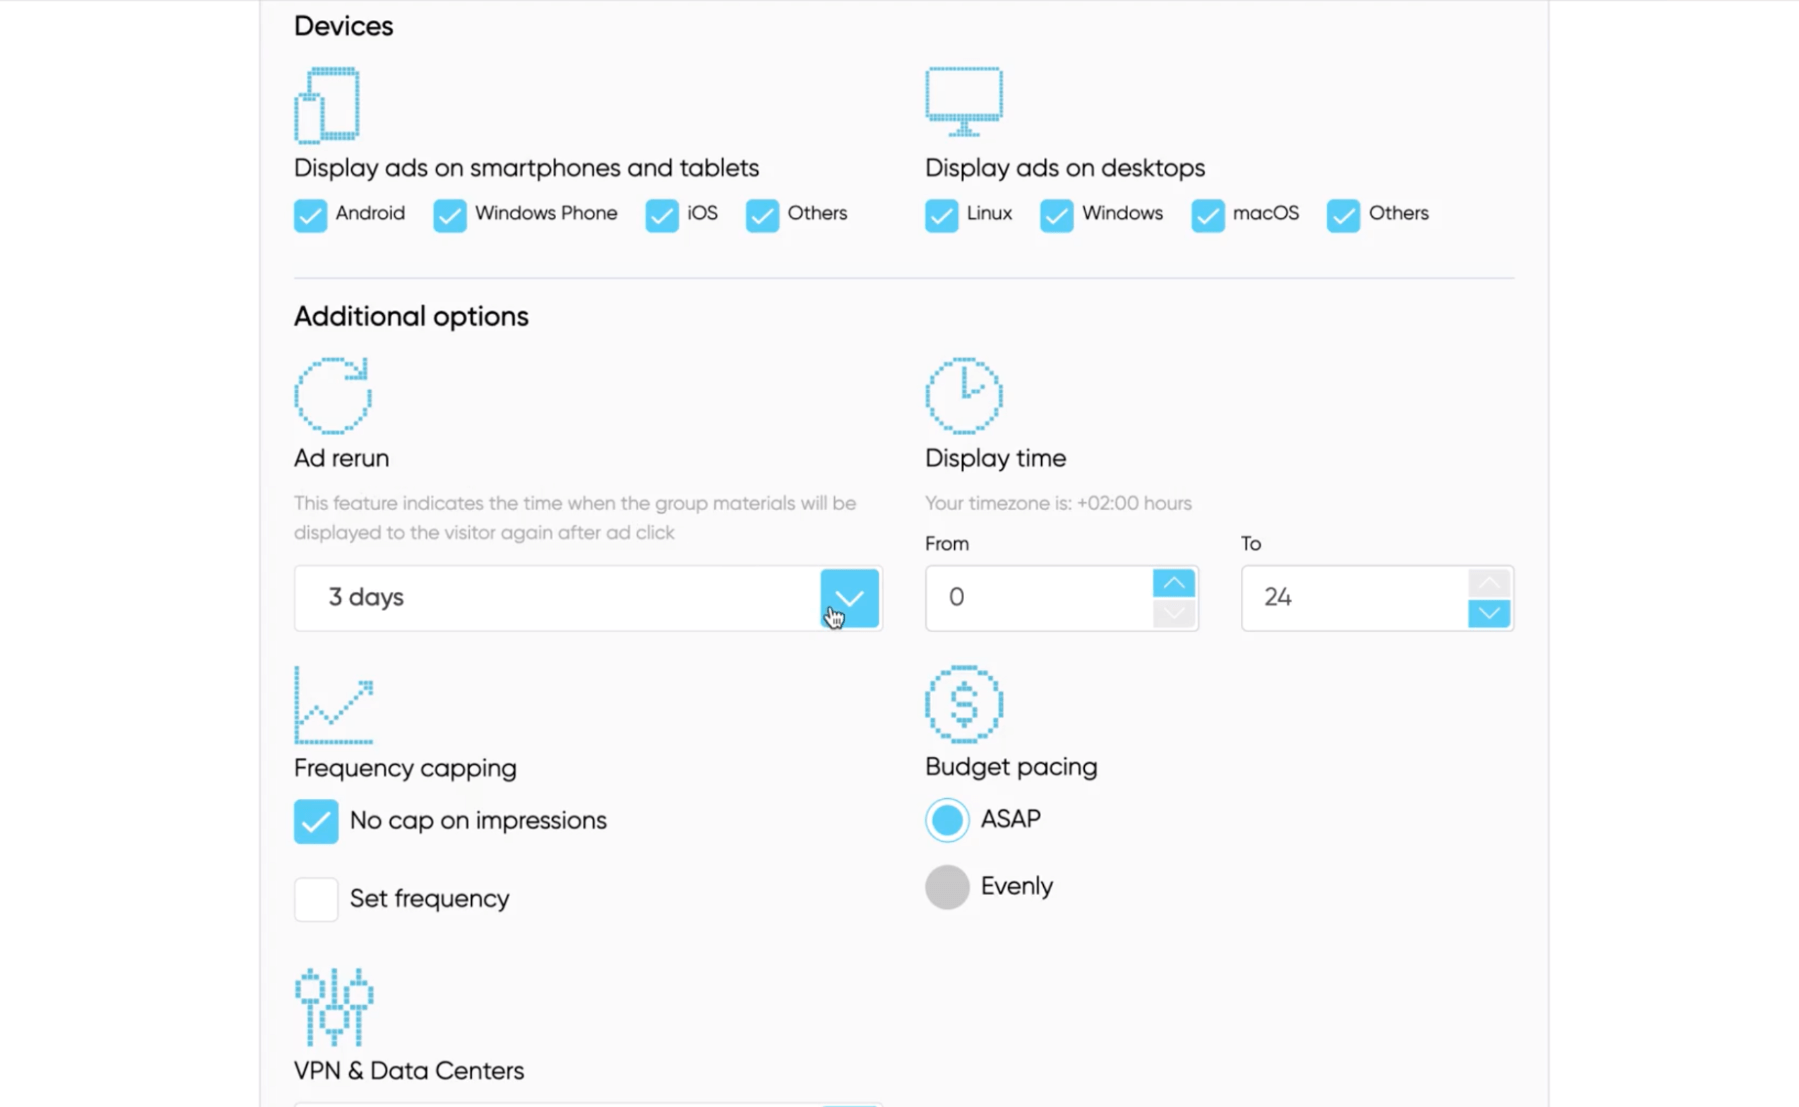
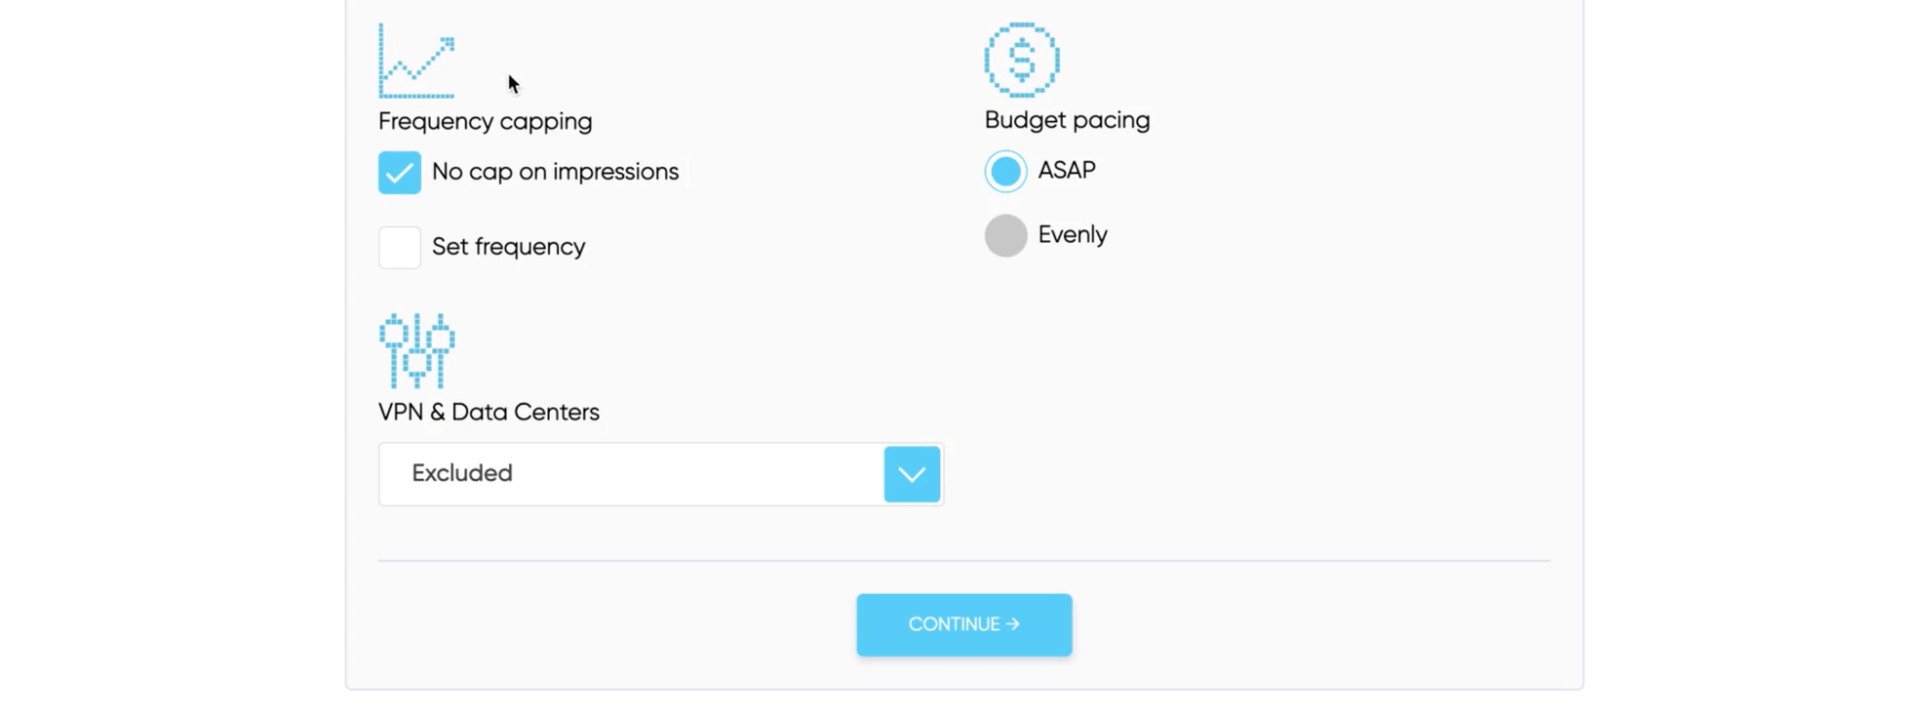
Select frequency capping
-
VPN and data centers: select included excluded or only VPN.
-
Press “Continue”.
Step 4: Choose Display Ad
You can select HTML5 Banners, Image Ad, Responsive Ad, Text Ad.
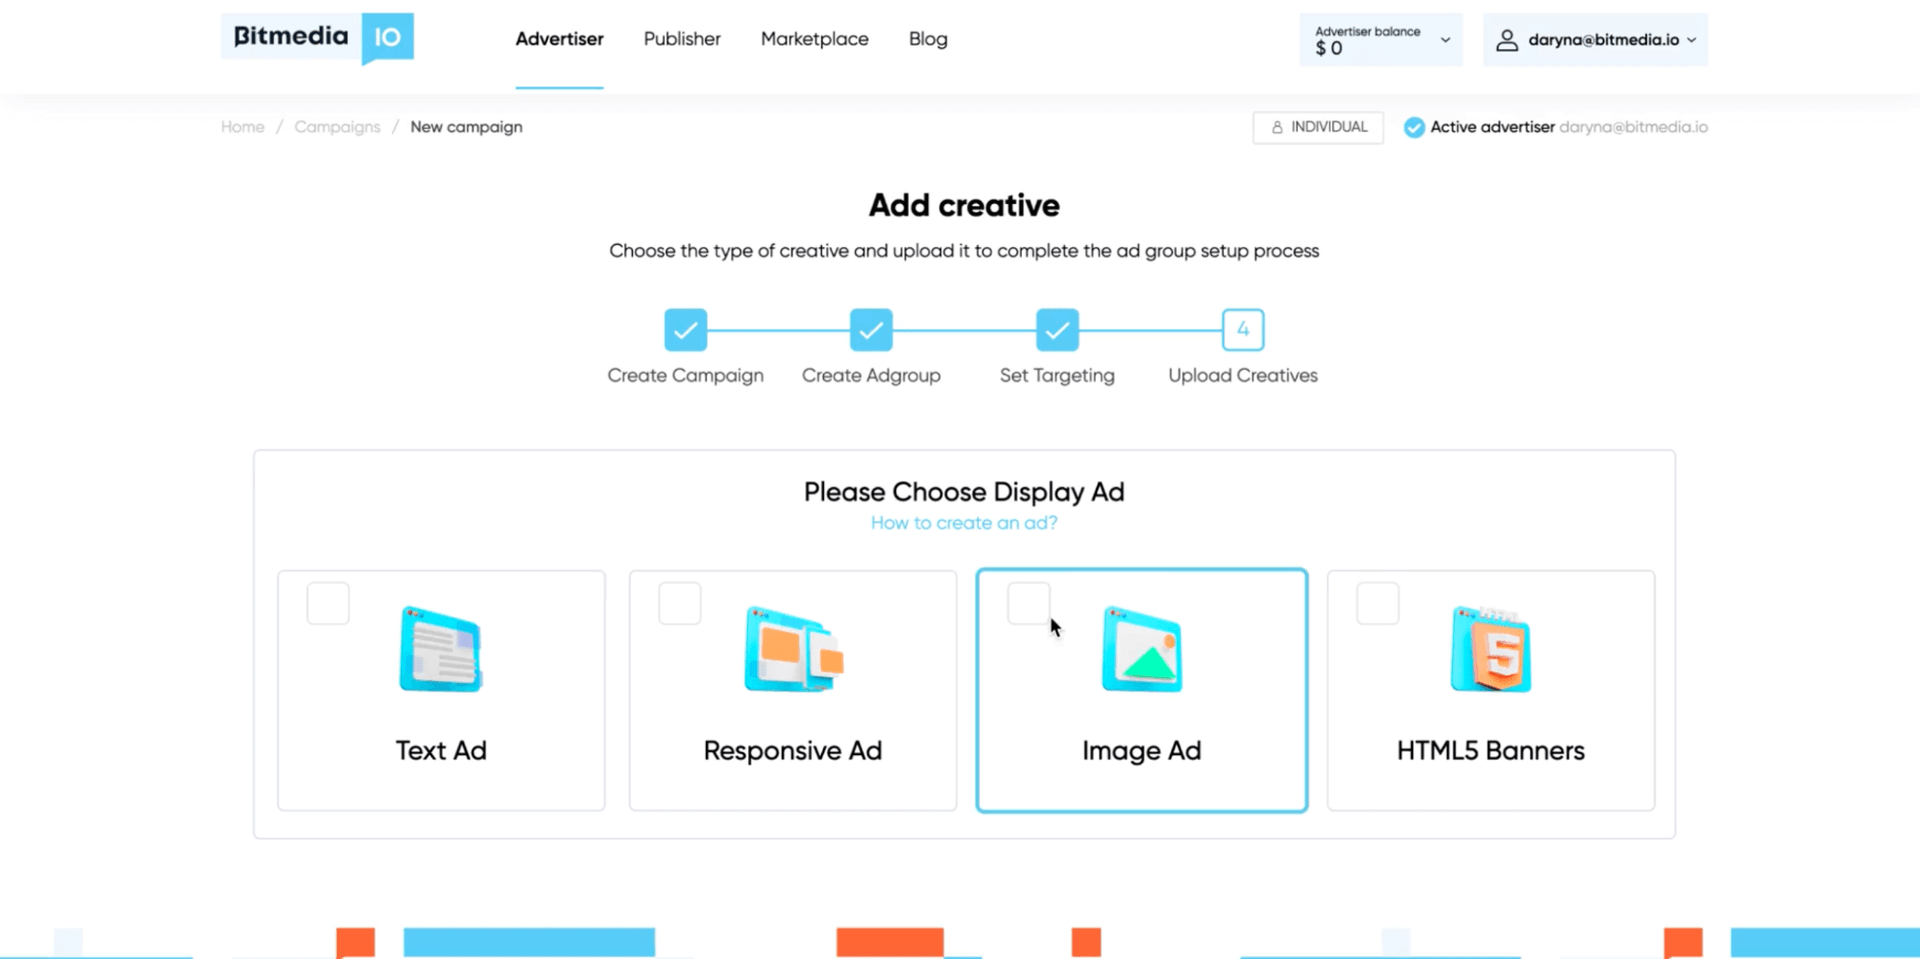
-
Returning back to Advertisers Dashboard going to all campaigns you can see your recently created “Direct Campaign”.
-
Press to activate it.

Happy journey with Bitmedia.IO!